

What about you??? My youngest step-daughter's birthday is tomorrow and for her birthday I wanted to give her a little taste of Spring. She too is a cancer survivor and like me ever since she went through her treatments she just stays cold, so what could be more appropriate? We are taking her out to lunch tomorrow and that is when we will give her the card...I sure hope she likes it!
Just recently I purchased an Elizabeth Craft Designs die set called "Curvy Leaves" and right about that time I came across a card by Pam Sparks that really caught my eye. I think I was on Pinterest, but I can't remember for sure. At any rate, she used a Memory Box die on it that was a leafy frame, called "Massa Leaf Frame" and it got me to thinking that I could cut some of my "Curvy Leaves" and scan them and make me my own leaf frame die. I also thought why not make it the exact size of the leaves on my new die and then cut some die cuts and place on top of the cut file I made in my cutter software.....so that is exactly what I did! Here is a link to Pam Sparks card that I cased....scroll down to the green one! I added a lattice to my frame. I used several Memory Box dies, including the Finn Butterfly, which was WAY too big for my card, so I scanned it, downsized it and cut it with my cutter to fit my card. The pretty flowers were made using my Memory Box "Fabulous Phlox" dies that I've had for quite a while, but I think this may be either the first or second time I've used them...but I'm liking the look and will be using them a lot more!!! I inked the edges of the flowers using "Crushed Olive" distress ink. The enamel dots were made by me using cardstock, ultra thick embossing power and my heat gun. I also used a little "Clear" Wink of Stella...seems like I just can't make a card these days without using some of it...LOL Well, here is the card I made.
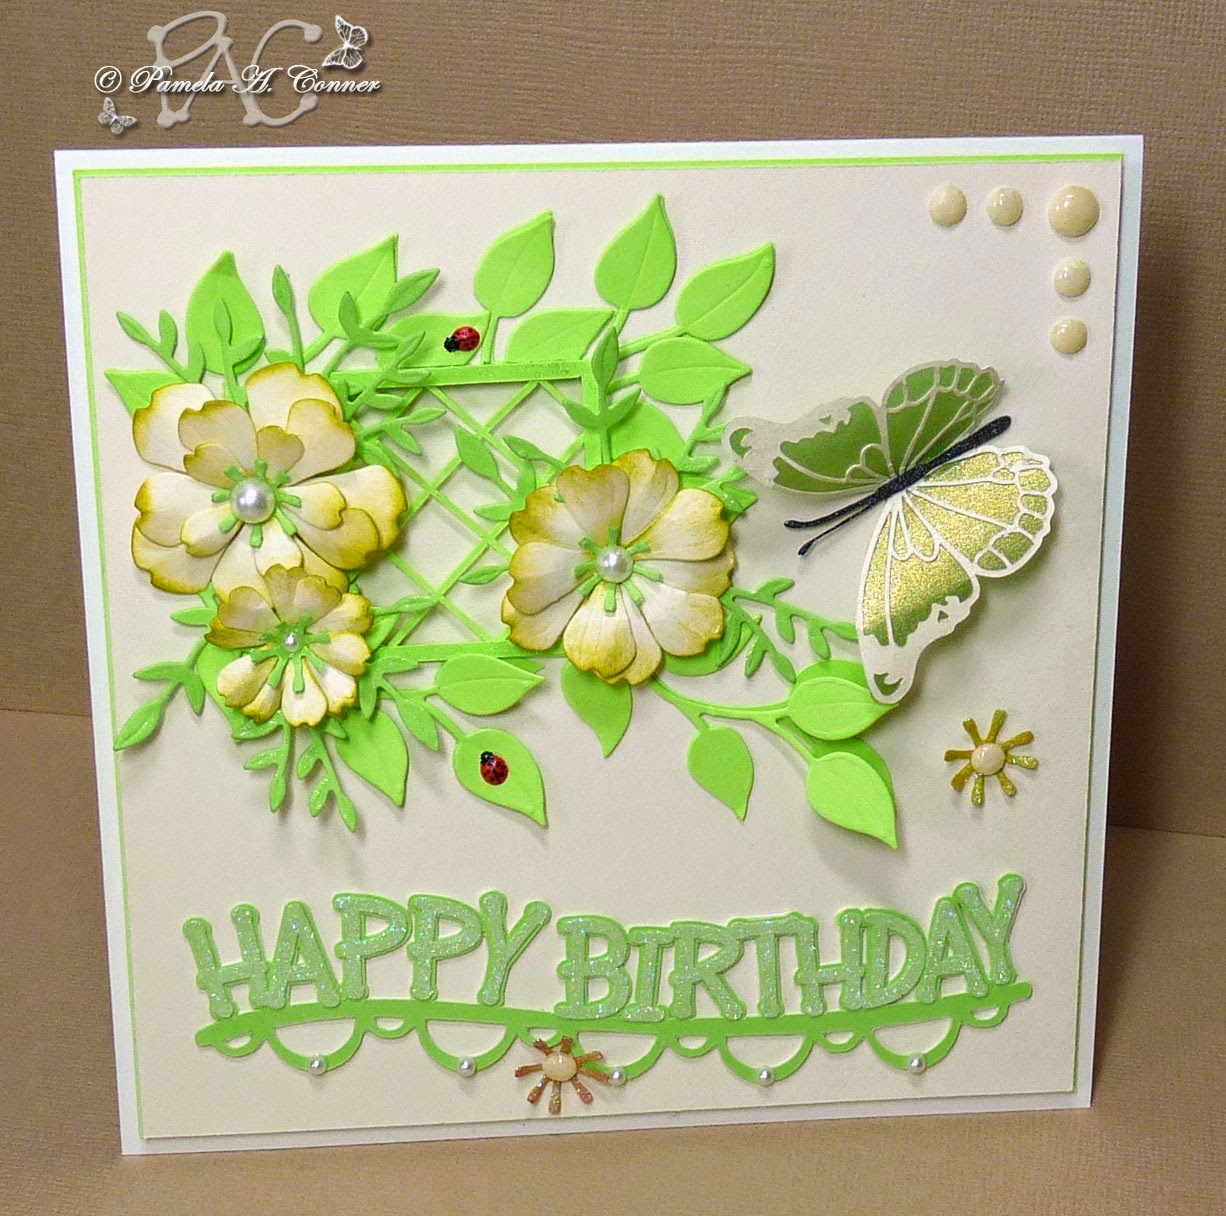
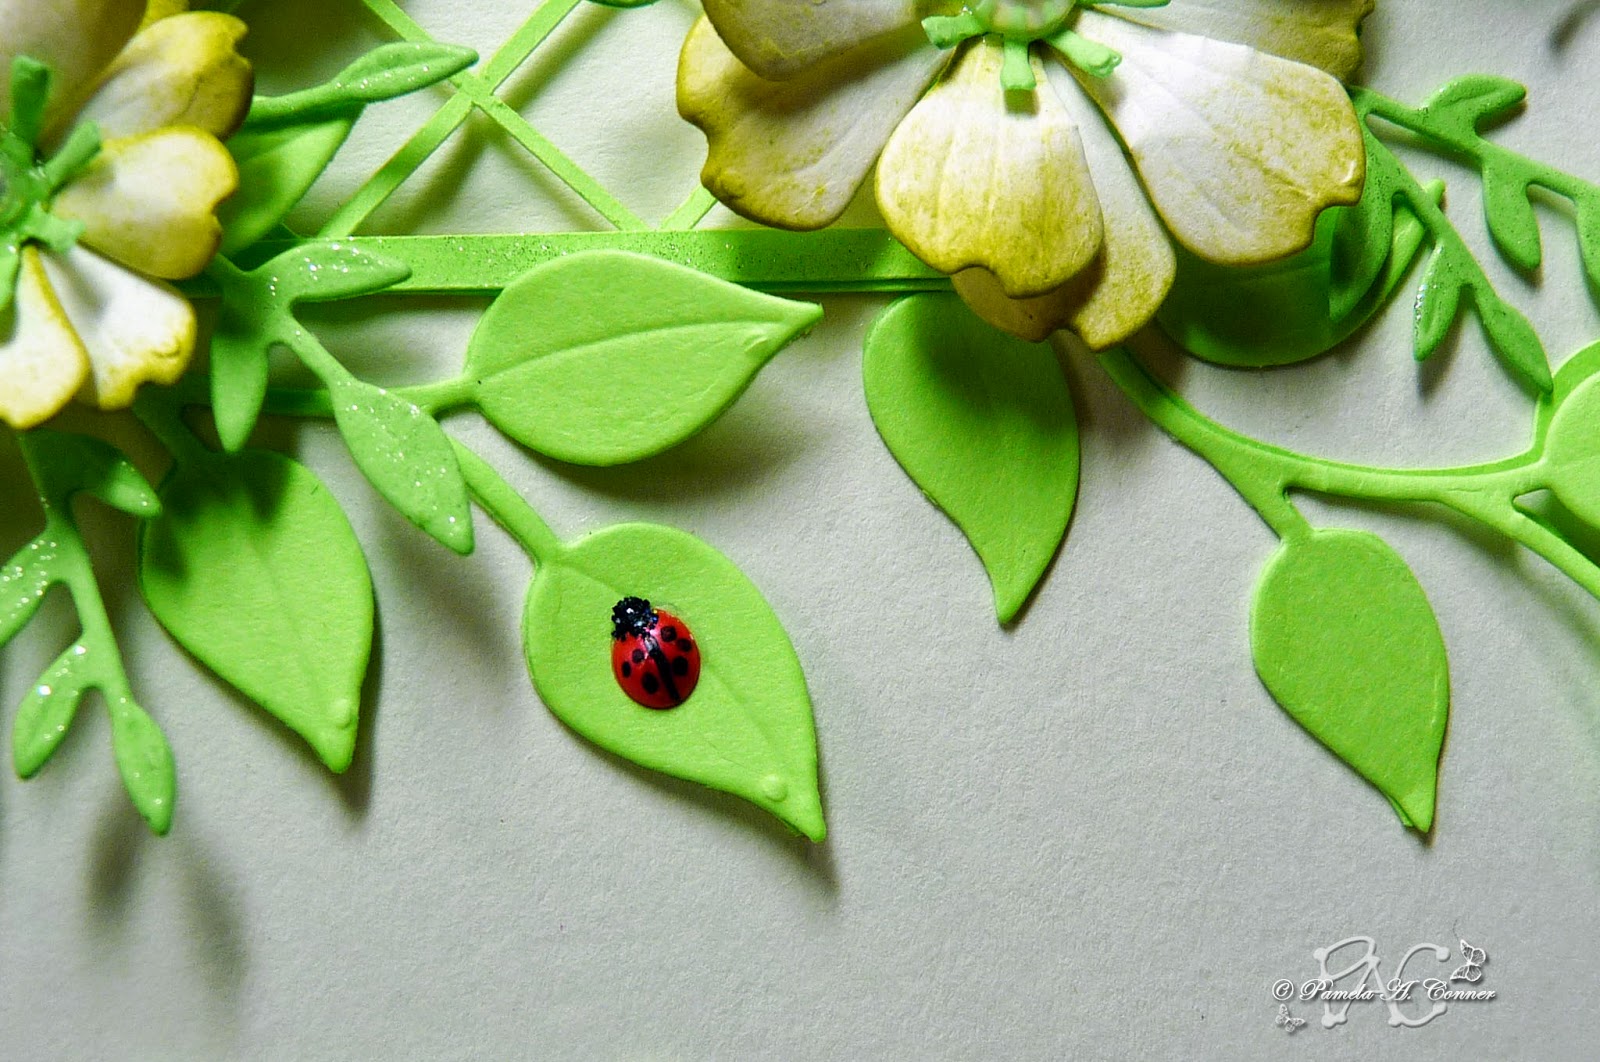
And here are several close-up photos. One thing I want to point out is my little ladybugs!!! I can't remember where I saw this, but you can make ladybugs out of red liquid pearls. I used some black Stickles to make the heads and then used a black Sharpie to put the line down the body and the little black dots. Aren't they adorable!!!


I modeled my "Happy Birthday" after the Memory Box one using the "Crazy Girlz Blond BTN" font. I made a base and then another layer with the "HAPPY BIRTHDAY" cut separate and I used some of my Elizabeth Craft Designs Double Sided Adhesive to add some of their "Cool Diamond" Silk Microfine Glitter to the letters....love that stuff, they feel just like velvet!!!

For the inside of the card I used some more of my die cut leaves and "inlaid" them to make the border across the bottom. I really like that look! In this case, I "blocked" the personal message to Janice....for her eyes only!

For my "signature label" on the back of the card I used a Spellbinders die. Thanks for stopping by to take a peek and please hurry back!!!
Finished Card Size: 5.5" Square

Supplies List
Papers: Recollections 110 lb. "Ivory" and 65 lb. Colored Cardstock, DCWV "Black Glitter Paper" (butterfly body), Canson "Kiwi Iridescent"
Ink: Tsukineko "VersaMarkWatermark"
Tools: Pazzles "Inspiration Vue", Silhouette "Cameo", "Milwaukee" Heat Gun, Sizzix "Big Shot"
Accessories: "Clear" Wink of Stella Brush Tip Marker, Memory Box "Finn Butterfly" & "Fabulous Phlox" Dies, Spellbinders "Ironworks Accents" Die, Recollections Pearls, Elizabeth Craft Designs "Cool Diamond" Silk Microfine Glitter, "Clear Double Sided adhesive" and "Curvy Leaves" Die, Suze Weinberg "Uttra Thick Embossing Enamel", Ranger "Ruby Red Liquid Pearls" & "Black Diamond" Stickles
Accessories: "Clear" Wink of Stella Brush Tip Marker, Memory Box "Finn Butterfly" & "Fabulous Phlox" Dies, Spellbinders "Ironworks Accents" Die, Recollections Pearls, Elizabeth Craft Designs "Cool Diamond" Silk Microfine Glitter, "Clear Double Sided adhesive" and "Curvy Leaves" Die, Suze Weinberg "Uttra Thick Embossing Enamel", Ranger "Ruby Red Liquid Pearls" & "Black Diamond" Stickles


1 comment:
Love all the detail and beautiful embellishments on your card. Lots of love and hard work has gone into it's creation and you can tell Pam! Wonderful colours, pretty design and a sure fire WOW of a keepsake.
Thank you for the links, stay well and warm :-) xx
Post a Comment